Building the firmware
Prerequisites
It is assumed you have a basic understanding of coding and building software for microcontrollers using git, how node and package.json works and also some knowledge of the PlatformIO framework for building Espressif IDF and Arduino projects.
You can either use the dev container (see below) or setup up everything locally. When running on Windows it's strongly recommended to use a WSL Linux environment as it can compile much faster than on native Windows.
Make sure you have the following software packages installed:
Building the firmware
First create a local PlatformIO configuration file by copying the example file pio_local.ini_example to pio_local.ini and modify it to your needs, for example by setting the target board you want to build for with default_envs or adding debug information with my_build_flags.
Before building the firmware you need to first create the WebUI distribution files by either running pio run -e build-webUI from the root folder or pnpm build-webUI from the interface folder. This will create the file src/ESP32React/WWWData.h which is used by the firmware.
Then to build the firmware run pio run -e <your_environment_name> or just pio run if you have a default environment set in your pio_local.ini file.
Uploading the firmware
To upload the firmware to your ESP32 device you can use the pio run -e upload command. There are two ways to upload the firmware: via USB or via OTA. To use OTA make sure upload_protocol is commented out in your pio_local.ini file and then PlatformIO will automatically detect the USB (you can also specific using the upload_port parameter). When using OTA set upload_protocol to custom and custom_emsesp_ip to the IP address of your EMS-ESP device. This is fastest way to upload the firmware to your device but obviously needs EMS-ESP to be running and accessible.
Testing locally
WebUI development
The WebUI can be developed and tested in real-time using mock dummy data from the file /mock-api/restServer.ts. This is useful when making changes to the Web UI, testing translations or watching the behaviour when test data changes.
You will need to install an additional software package, bun.
To build the mock API data service:
cd mock-api
pnpm install
and then from the interface folder run:
pnpm standalone
This will open a browser window with URL http://localhost:3000.
Simulating offline, without an ESP32 microcontroller
You can also run EMS-ESP without an ESP32 (which we call 'standalone'). The PlatformIO environment has two native type environments that will build emsesp executables compatible with Linux, Windows and Max OSX.
pio run -e standalone -t exec
When the standalone is running, you'll see the EMS-ESP Console. From here you can use the test command to run tests. test general is a generic test that will setup a standard boiler and thermostat with all its default entities. All the tests are hardcoded in the file test/test.cpp and can be easily adapted.
There are also a set of Unit Tests which can be run from the pio environment as well with pio run -e native-test -t exec. This works natively on every platform and doesn't require any additional setup.
Using a dev container
You can use the dev container locally or spin up a codespace on github. When using the dev container and running the standalone UI you have to run the standalone-devcontainer script instead of the default standalone one. Otherwise your vite port wont be accessible from your machine.
pnpm standalone-devcontainer
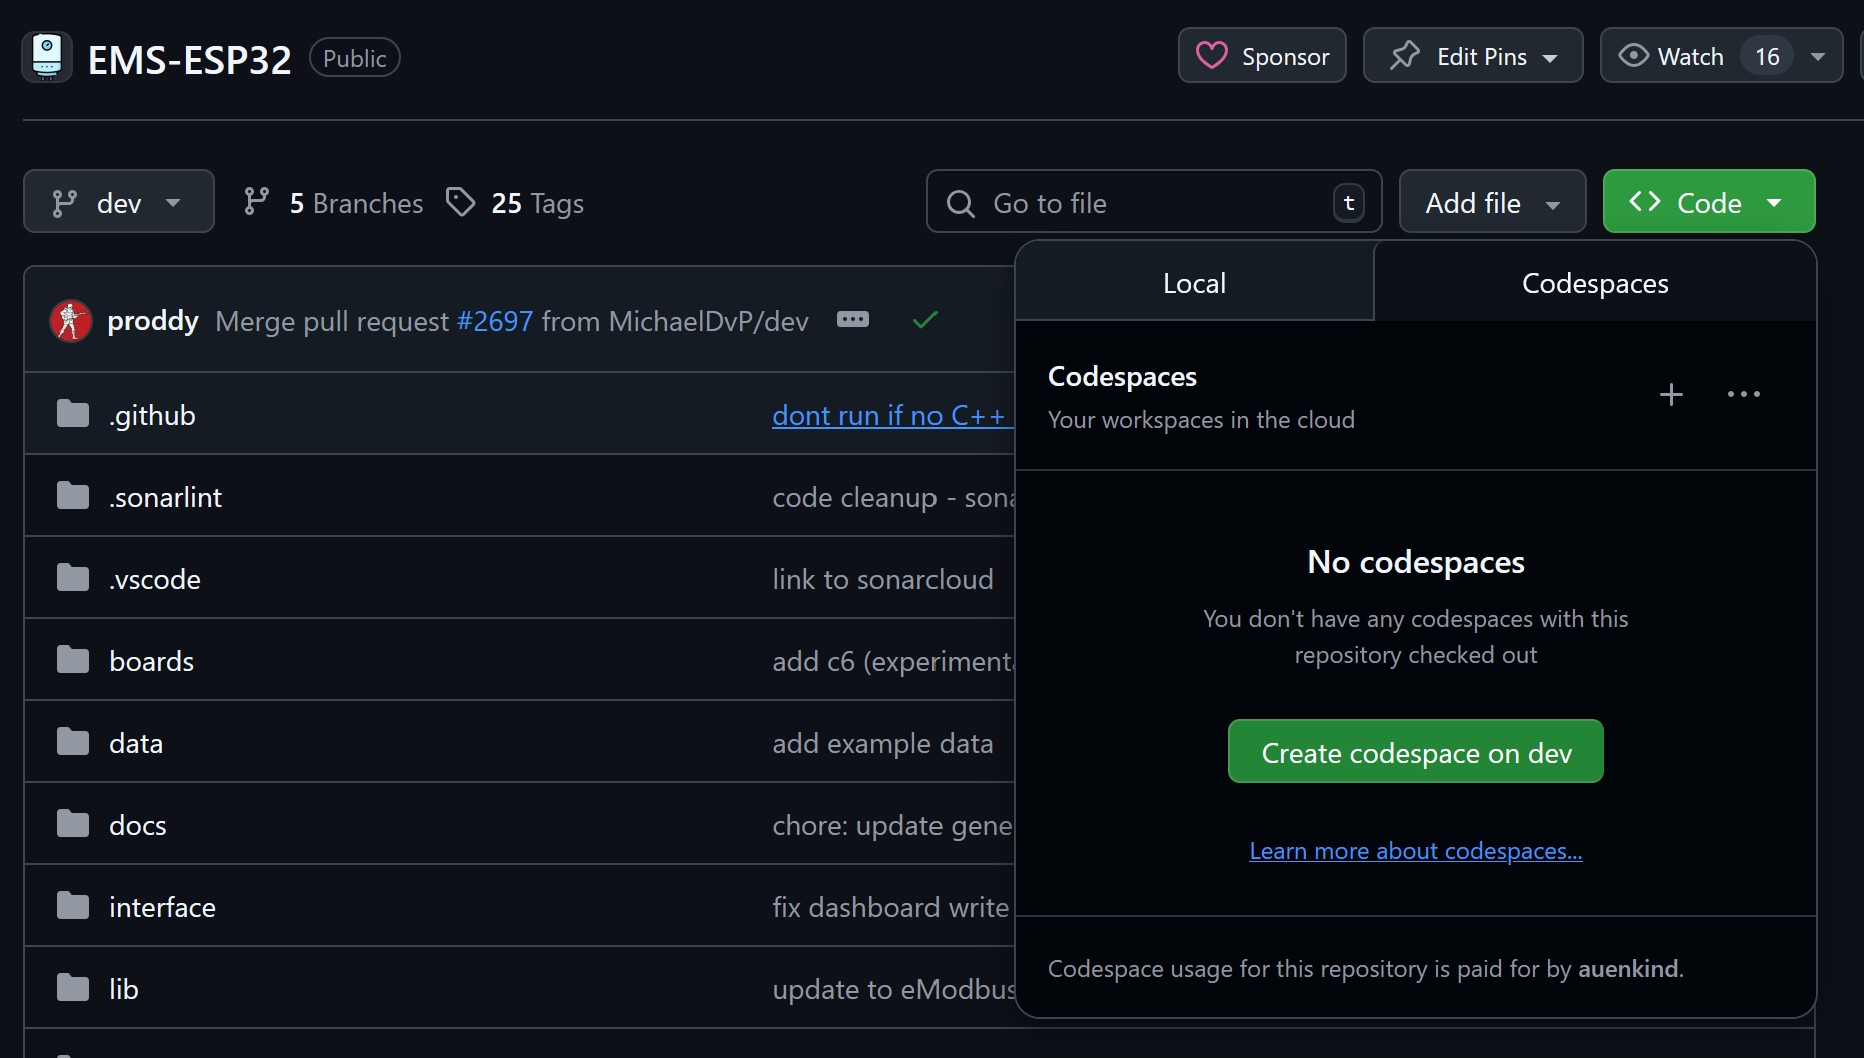
GitHub Codespace
Click "Code" and the "Create codespace on dev" to start a codespace that you can use for developing without having to install anything locally.
The partition structure
| Name | Type | SubType | Offset | Size | Notes | File |
|---|---|---|---|---|---|---|
| bootloader | 0x0000/0x1000 | 0x8000 (32 KB) | ESP32-S3=0x1000, ESP32=0x1000 | bootloader*.bin | ||
| partitions | 0x8000 | 0x1000 (4 KB) | same for each board | partitions*.bin | ||
| - | ||||||
| nvs | data | nvs | 0x9000 | 0x5000 (20 KB) | reserved for ESP32 | |
| otadata | data | ota | 0xE000 | 0x2000 (8 KB) | same for each board | boot_app0*.bin |
| boot | app | factory | 0x10000 | 0x480000 (4.5 MB) | default boot partition | EMS-ESP firmware *.bin/loader |
| app0 | app | ota_0 | 0x290000 | 0x490000 (4.56 MB) | OTA cycle 1 | EMS-ESP firmware *.bin |
| app1 | app | ota_1 | 0x510000 | 0x490000 (4.56 MB) | OTA cycle 2 | EMS-ESP firmware *.bin |
| nvs1 | data | nvs | 0xAA0000 | 0x040000 (256 KB) | custom for EMS-ESP | (generated by script) |
| spiffs | data | spiffs | 0xAA0000 | 0x200000 (2 MB) | for LittleFS/EMS-ESP filesystem | (optional contents of data folder) |
| coredump | data | coredump | 0xCE0000 | 0x010000 (64 KB) |
- Reference: ESP-IDF Partition Tables
- There are 3 places where the EMS-ESP firmware is stored:
bootis the default used on fresh installs.app0andapp1are the firmware partitions used during OTA updates, and cycles between the two. The firmware is loaded into one of these non-active partitions, and then the device is rebooted.
- The bootloader (called second stage) is the small executable that is used to read the partition table at offset 0x8000 and determine which partitions are available. Note the bootloader's offset is different per chip type. ESP32 is 0x1000 and ESP32-S3 is 0x0000.
- The partition
otadatais used to hold a small application used to determine which partition (boot, app0, app1) to use. It will query the data stored inpartitionsblock. - EMS-ESP can be restarted to other partitions using the command
restart <boot|app0|app1>. - The EMS-ESP Console/API command
show systemwill show the current partition and the partition that will be booted after a restart. - With all the board/chip types, the
boot_app0.binandpartitions.binare typically the same file for each board. Only thebootloader.binis different. - See EMS-ESP-Flasher-CLI for more information on the flasher CLI tool.
- See also https://docs.emsesp.org/Installing#manual-flashing-the-firmware for manual flashing of the firmware and the location of the .bin files.